Expand description

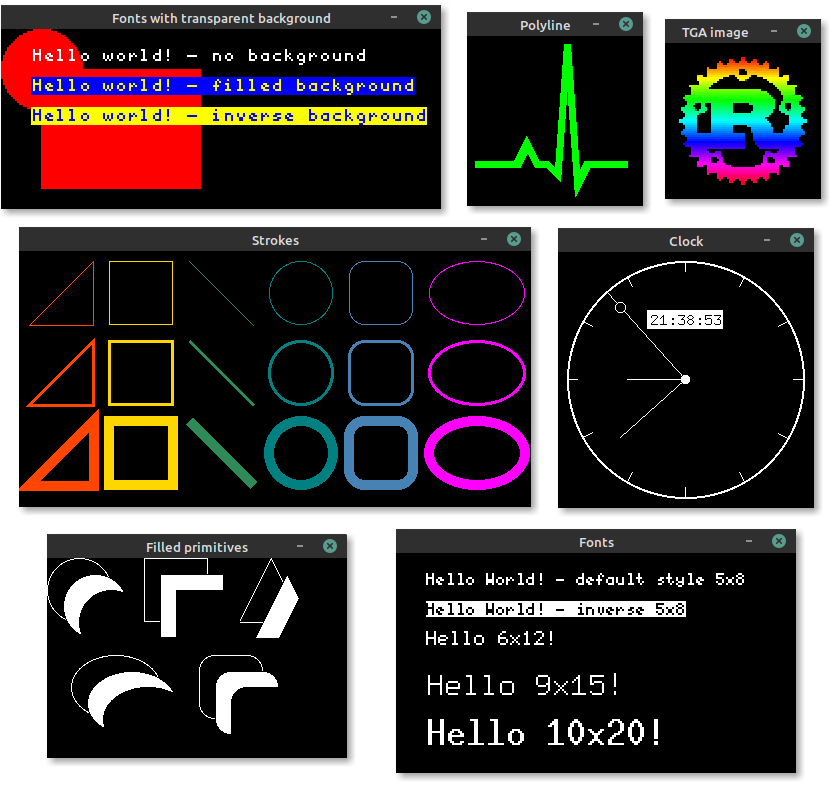
The simulator can be used to test and debug embedded-graphics code, or produce examples and interactive demos to show off embedded graphics features.
§Examples
More simulator examples can be found in the examples repository.
§Simulate a 128x64 SSD1306 OLED
use embedded_graphics::{
    pixelcolor::BinaryColor,
    prelude::*,
    primitives::{Circle, Line, Rectangle, PrimitiveStyle},
    mono_font::{ascii::FONT_6X9, MonoTextStyle},
    text::Text,
};
use embedded_graphics_simulator::{BinaryColorTheme, SimulatorDisplay, Window, OutputSettingsBuilder};

fn main() -> Result<(), core::convert::Infallible> {
    let mut display = SimulatorDisplay::<BinaryColor>::new(Size::new(128, 64));

    let line_style = PrimitiveStyle::with_stroke(BinaryColor::On, 1);
    let text_style = MonoTextStyle::new(&FONT_6X9, BinaryColor::On);

    Circle::new(Point::new(72, 8), 48)
        .into_styled(line_style)
        .draw(&mut display)?;

    Line::new(Point::new(48, 16), Point::new(8, 16))
        .into_styled(line_style)
        .draw(&mut display)?;

    Line::new(Point::new(48, 16), Point::new(64, 32))
        .into_styled(line_style)
        .draw(&mut display)?;

    Rectangle::new(Point::new(79, 15), Size::new(34, 34))
        .into_styled(line_style)
        .draw(&mut display)?;

    Text::new("Hello World!", Point::new(5, 5), text_style).draw(&mut display)?;

    let output_settings = OutputSettingsBuilder::new()
        .theme(BinaryColorTheme::OledBlue)
        .build();
    Window::new("Hello World", &output_settings).show_static(&display);

    Ok(())
}§Setup
The simulator uses SDL2 and its development libraries which must be installed to build and run it.
§Linux (apt)
sudo apt install libsdl2-dev
§macOS (brew)
brew install sdl2
§Windows
The Windows install process is a bit more involved, but it does work. See the Rust-SDL2 crate’s README for instructions. There are multiple ways to get it working, but probably the simplest method is copying the binaries as shown here.
§Creating screenshots
Screenshots of programs, that use Window to display a simulated display, can be created by
setting the EG_SIMULATOR_DUMP or EG_SIMULATOR_DUMP_RAW environment variable:
EG_SIMULATOR_DUMP=screenshot.png cargo run
By setting the variable the display passed to the first Window::update call gets exported as a
PNG file to the specified path. After the file is exported the process is terminated.
The difference between EG_SIMULATOR_DUMP and EG_SIMULATOR_DUMP_RAW is that the first method
applies the output settings before exporting the PNG file and the later dumps the unaltered
display content.
§Exporting images
If a program doesn’t require to display a window and only needs to export one or more images, a
SimulatorDisplay can also be converted to an image crate ImageBuffer by using the
to_image_buffer method. The resulting buffer can then be used to save the display content to
any format supported by image.
§Using the simulator in CI
The simulator supports two environment variables to check if the display content matches a
reference PNG file: EG_SIMULATOR_CHECK and EG_SIMULATOR_CHECK_RAW. If the display content
of the first Window::update call doesn’t match the reference image the process exits with a
non zero exit exit code. Otherwise the process will exit with a zero exit code.
EG_SIMULATOR_CHECK=screenshot.png cargo run || echo "Display doesn't match PNG file"
EG_SIMULATOR_CHECK assumes that the reference image was created using the same
OutputSettings, while EG_SIMULATOR_CHECK_RAW assumes an unstyled reference image.
§Usage without SDL2
When the simulator is used in headless/CI environments that don’t require showing a window, SDL2 support can be disabled. This removes the requirement of SDL2 being installed on the target machine, but still allows the simulator to be used to generate images.
The with-sdl feature is enabled by default and can be disabled by adding default-features = false to the dependency:
[dependencies.embedded-graphics-simulator]
version = "0.2.0"
default-features = false
See the Choosing Features Cargo manifest documentation for more details.
Modules§
- Re-exported types from sdl2 crate.
Structs§
- Output image.
- Output settings.
- Output settings builder.
- Simulator display.
- Simulator window
Enums§
- Color theme for binary displays
- A derivation of sdl2::event::Event mapped to embedded-graphics coordinates